
Every CAD manager I have talked to in the last five years has the same story about Sheet Set Manager. They heard it would solve their sheet organization problems. They set it up, created a .dst file, linked their layouts, and configured the custom properties. And then they discovered that SSM organizes existing sheets but does not actually create them.
That realization hits hard when you are staring at a project that needs 40 new sheets and SSM cannot generate a single one. It can number them, publish them to PDF, and display them in a nice tree view. But the actual work — creating the layout tab, inserting the title block, positioning the viewport, setting the scale — still falls on you.
This article is about closing that gap. What does it actually take to go from partial organization to full automation? What are the pieces that SSM handles, where does it stop, and what does the rest of the pipeline look like?
What Sheet Set Manager Actually Does
Before I criticize SSM, let me give it credit where it is due. Sheet Set Manager solves a real problem: keeping track of which layouts exist across which drawings. In a multi-drawing project, SSM provides a single panel where you can see every sheet, organized by subset, with metadata attached.
Here is what SSM handles well:
- Sheet organization. You can group sheets into subsets (Architectural, Structural, Mechanical) and see the entire project tree in one panel.
- Sheet numbering. SSM can auto-assign sheet numbers based on your subset structure. Change the numbering scheme, and it updates everywhere.
- Custom properties. You can define project-level properties (client name, project number, project address) and sheet-level properties (sheet title, drawn by, checked by) that flow into title block attributes via fields.
- Batch publishing. Select a subset or the entire set and publish to PDF, DWF, or a plotter in one operation.
- Callout blocks and view labels. SSM integrates with callout blocks so that section references and detail references update automatically when you renumber sheets.
That is a solid feature set for managing sheets that already exist. The problem is everything that has to happen before a sheet can be managed.
Where Sheet Set Manager Stops
SSM does not create layouts. It does not insert title blocks. It does not create viewports. It does not configure page setups. It does not set viewport scales. It does not lock viewports.
When you click "New Sheet" in SSM, it creates a new layout tab in a drawing file — and that is it. You get a blank layout with whatever default page setup the drawing has. From there, you are back to the same manual process: insert the title block, fill in the attributes, create the viewport, navigate to the right model space area, set the scale, freeze layers, lock the viewport.
SSM's "New Sheet" workflow can use a template, which helps. But the template only covers the page setup and optionally a pre-inserted title block. You still need to populate the title block fields, create and configure the viewport, and verify everything is correct.
For a single sheet, this gap between SSM's capabilities and a finished print-ready sheet takes 10 to 15 minutes of manual work. For a 40-sheet project, that is 7 to 10 hours of setup before you even start drafting.
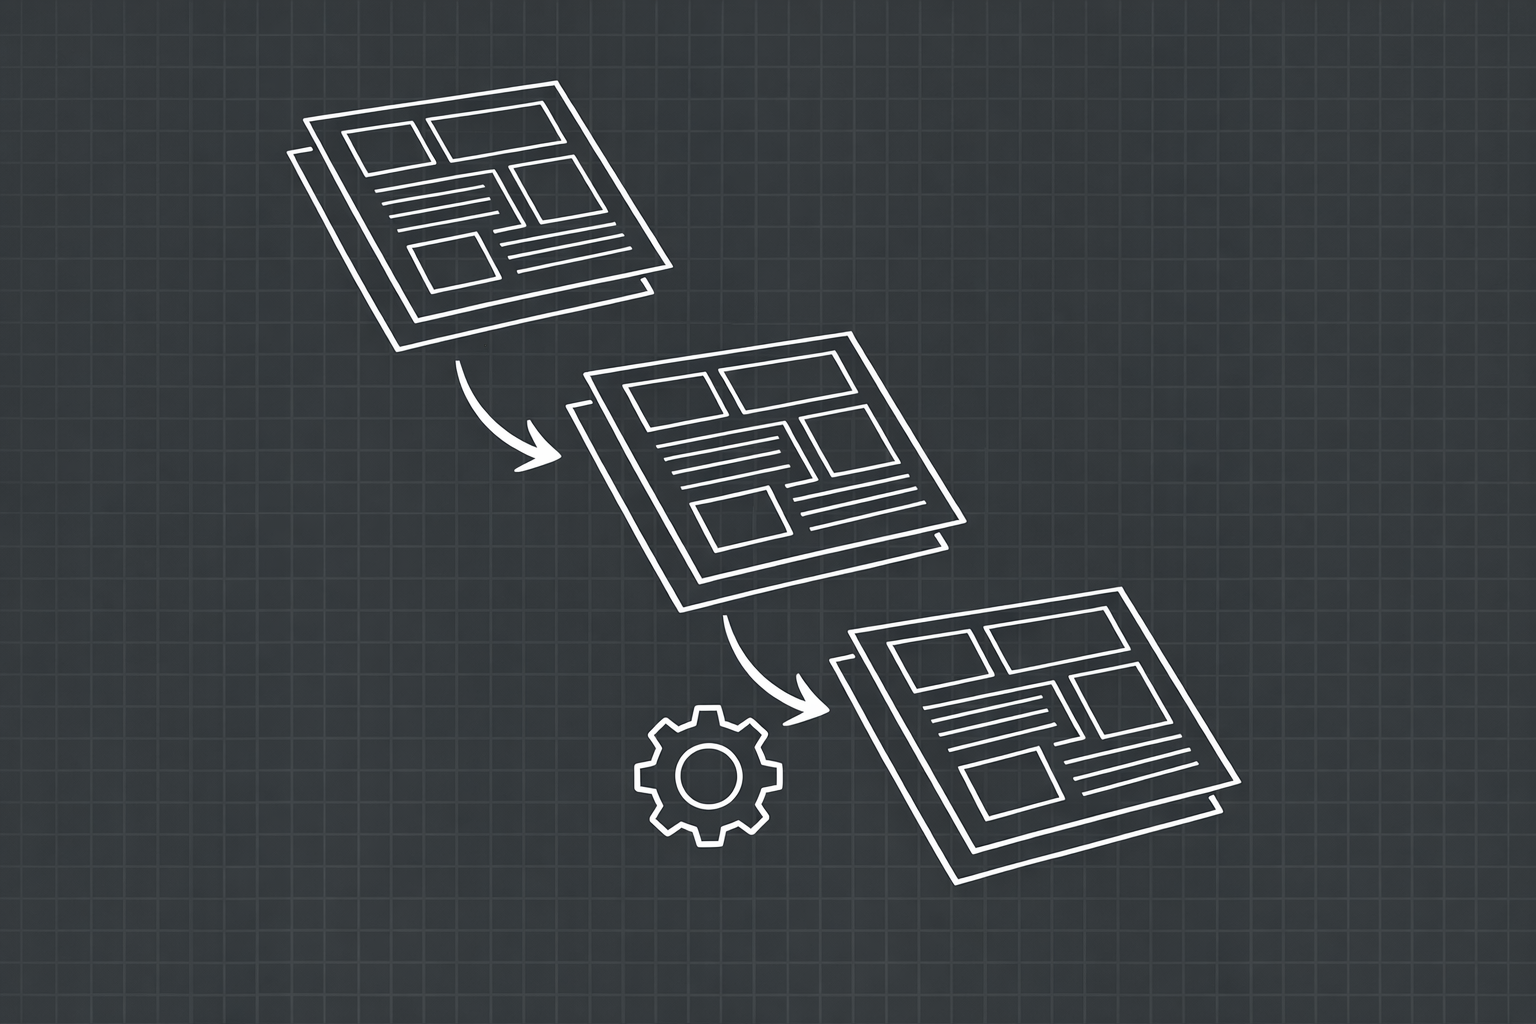
The Five Layers of Sheet Automation
When I think about full sheet automation, I break it into five distinct layers. SSM covers the first layer. Most offices are stuck somewhere between layers one and two. Real automation means addressing all five.
Layer 1: Organization (What SSM Does)
This is the tree view, the numbering, the metadata. You know which sheets exist and how they are grouped. SSM handles this well once sheets are created.
Layer 2: Layout and Page Setup Generation
This is the first piece SSM does not handle. Automated layout generation means the tool creates the layout tab with the correct name, assigns the correct page setup (plotter, paper size, plot area, plot scale), and handles naming conventions automatically.
A proper automation tool at this layer does not just create a blank layout from a template. It creates a fully configured layout where the page setup matches your output requirements — DWG To PDF plotter, correct paper size, 1:1 plot scale, "Layout" plot area. No manual Page Setup Manager interaction needed.
Layer 3: Title Block Population
This is where the biggest time savings live. A fully automated title block workflow means the tool inserts the correct title block for the paper size, then populates every attribute field from a central data source.
The data source might be a project settings file, a spreadsheet, or a dialog where you configure the project once. The key is that you never type the project name, client name, project number, or any other project-level field more than once. Sheet-level fields like sheet number and sheet title come from the queue configuration.
Layer 4: Viewport Creation and Configuration
This is the most technically complex layer. The automation tool needs to create a viewport that fits within the printable area of the title block, point it at the correct region of model space, set the correct scale, and lock it.
The tricky part is viewport sizing. The viewport boundary needs to avoid overlapping the title block. It needs to account for the margins between the title block border and the viewport edge. And it needs to be large enough to show the content at the specified scale without clipping.
An auto-fit approach calculates the optimal viewport size based on the extents of the model space content and the available area inside the title block. A fixed-scale approach lets you specify the scale and adjusts the viewport to show as much content as possible at that scale.
Layer 5: Batch Generation and Sequencing
The final layer is the ability to queue up multiple sheets and generate them all in one operation. This is where automation goes from saving minutes to saving hours.
In a batch workflow, you configure each sheet once — specifying the sheet number, title, scale, and model space region — add it to a queue, and then generate the entire batch. The tool handles auto-incrementing sheet numbers, consistent project metadata across all sheets, and sequential layout tab creation.
A 40-sheet batch that would take 8 hours of manual setup can be configured and generated in under 30 minutes.
Why Templates Are Not Enough
The most common response I hear from CAD managers when I bring up sheet automation is "we already have templates." And yes, templates help. A well-designed .dwt file with a pre-configured page setup and a pre-inserted title block eliminates maybe two or three steps from the manual process.
But templates have fundamental limitations:
- Static metadata. The title block in a template has blank attribute fields or placeholder values. You still need to fill in every field for every sheet. Templates cannot pull project-level data from a central source.
- One size fits one paper. If your office uses ARCH D for construction documents and ARCH C for shop drawings, you need separate templates for each paper size. If a client requires ANSI instead of ARCH, you need more templates. Template libraries grow quickly and become a maintenance burden.
- No viewport intelligence. A template can include a pre-drawn viewport, but it cannot point that viewport at the right area of model space or set the right scale. Those steps remain manual.
- Revision management. When you update your company logo or change the title block layout, every template needs to be updated. If you have 12 templates across different paper sizes and title block versions, that is 12 files to modify and test.
Templates are a step in the right direction, but they automate maybe 20% of the sheet creation workflow. The other 80% — the part that actually takes time and introduces errors — remains manual.
Best Practices for Template-Driven Generation
Even with full automation tools, templates play an important role as the source of your title block definitions and page setup defaults. Here are the practices that make template-driven generation work well:
Separate Title Blocks from Templates
Keep your title blocks as standalone block definitions (.dwg files) rather than embedding them directly in template files. This way, the automation tool can insert the appropriate title block based on paper size without being tied to a specific template. When you update the title block, you update one file, and every future sheet generation uses the new version.
Define a Single Source of Truth for Project Data
Project-level metadata — client name, project number, project name, project address, drawn by, checked by — should be defined once and inherited by every sheet. Whether this lives in a project settings dialog, a configuration file, or a sheet set custom property, the principle is the same: type it once, use it everywhere.
This eliminates the single most common category of title block errors: inconsistent metadata across sheets. When every sheet pulls from the same source, "ABC Corp" on sheet 1 and "ABC Corporation" on sheet 15 becomes impossible.
Standardize Paper Size to Title Block Mapping
Create a clear mapping between each paper size your office uses and the corresponding title block file. ARCH D maps to your ARCH D title block. ANSI B maps to your ANSI B title block. This mapping should be configured once and used by the automation tool every time it generates a sheet.
Many offices have this mapping documented informally ("everyone knows which title block to use"). Making it explicit and machine-readable eliminates a surprisingly common source of errors: inserting the wrong title block for the paper size.
Use Named Page Setups
Instead of configuring page setup properties individually for each layout, create named page setups that encapsulate all the settings: plotter, paper size, plot area, plot scale, plot style table. An automation tool can then apply the correct named page setup to each layout based on the paper size selection.
Named page setups also make it easy to switch between output formats. One page setup for DWG To PDF output, another for a physical plotter, another for DWF. The automation tool just references the page setup name.
The Role of LISP and Scripts
Some offices have invested significant time in AutoLISP routines or script files that partially automate sheet creation. These are admirable efforts, and they often save real time. But they come with trade-offs that are worth acknowledging.
LISP routines for sheet creation tend to be brittle. They rely on specific block names, specific attribute tags, specific layer names, and specific paper sizes. When any of those change, the routine breaks. Maintaining custom LISP code across an office requires someone who understands both AutoCAD and programming — a combination that is not always available.
Script files (.scr) have similar limitations. They are essentially recorded sequences of commands, which means they break when the command interface changes between AutoCAD versions. They also run without any error handling, so a single unexpected prompt can derail the entire script.
The advantage of purpose-built automation tools over LISP and scripts is robustness. A compiled plugin can validate inputs before executing, handle edge cases gracefully, and provide feedback when something goes wrong. It can also offer a graphical interface for configuration, which makes the tool accessible to people who are not comfortable editing code.
What Full Automation Actually Looks Like in Practice
Let me walk through a concrete scenario. You have a project with 25 sheets: 10 architectural floor plans, 8 structural details, 4 mechanical plans, and 3 electrical layouts. The project uses ARCH D paper for floor plans and ARCH C for details.
Without automation, you open each drawing, create a layout tab, open Page Setup Manager, configure the plotter and paper size, insert the correct title block, fill in 8+ attribute fields, create a viewport, navigate to the right model space area, set the scale, freeze the necessary layers, lock the viewport, and verify everything. You repeat this 25 times. At 15 minutes per sheet, that is 6 hours and 15 minutes.
With full automation, you configure your project settings once (client name, project number, etc.), then add each sheet to a generation queue. For each sheet, you specify the sheet number, title, paper size, scale, and model space area. That takes about 30 seconds per sheet. When the queue is ready, you generate all 25 sheets. The tool creates every layout, populates every title block, creates and configures every viewport, and sets up every page setup. Total time: about 15 minutes for queue configuration plus 2–3 minutes for generation.
The time difference is significant — 6+ hours versus under 20 minutes. But the consistency difference matters even more. With manual setup, 25 sheets means 25 opportunities for a typo in a title block field, a wrong scale, or a forgotten viewport lock. With automated generation, every sheet inherits the same project data and follows the same configuration rules.
Measuring the ROI
If you are trying to justify automation to your management or your team, here are the numbers to focus on:
- Direct time savings. Count the sheets your team produces per month. Multiply by 15 minutes (conservative average for manual setup). That is your monthly labor cost for sheet creation. Automation reduces that by 80–90%.
- Error reduction. Count the number of title block corrections, scale fixes, and re-issues your team handles per project. Each correction costs 15–30 minutes of labor plus the coordination overhead. Automation eliminates the majority of these errors at the source.
- Consistency value. This is harder to quantify but real. Consistent sheets reduce QA review time, reduce client complaints about formatting, and make your deliverables look more professional. A sheet set where every title block has identical formatting signals competence.
For a team of five drafters producing 100 sheets per month, the direct time savings alone typically exceed 20 hours per month. At $55/hour, that is $1,100/month or over $13,000/year in recovered productivity.
Getting Started
If you are currently relying on SSM and templates and want to move toward fuller automation, start by auditing your current workflow. Time yourself creating five sheets and count the steps. Identify which steps are identical across every sheet (those are the ones automation handles best) and which require per-sheet decisions (those are the inputs your automation tool needs).
Then evaluate your title block standardization. Are your title blocks standalone block files with well-defined attribute tags? Are your paper size and title block mappings documented? Is your project metadata defined in one place? The more standardized your inputs, the more effective automation will be.
Full sheet automation is not a replacement for Sheet Set Manager. SSM still handles organization, publishing, and callout block management. Automation fills the gap that SSM leaves — the actual creation of layouts, title blocks, viewports, and plot configurations. Together, they cover the entire sheet lifecycle from creation through publishing.
The goal is to spend your time on drafting and design, not on the mechanical setup work that should be handled by software. Every minute spent manually creating layouts, filling in title block fields, and configuring viewports is a minute taken away from the work that actually requires your expertise.